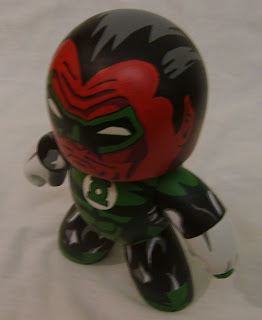
The first thing I do is spray the Mugg down with primer. Usually 3 coats will do. Then, I sand the primer down with very fine sandpaper to get a smooth feel on the whole Mugg. The primer takes paint much easier than a "bald" Mugg, even a blank white one.
Here is the process, step-by-step:
1. The Mock-Up
This is the most important part of the process. I take reference material from my collection and tweak it to work on a Mighty Mugg. The more detail there is in this step, the easier the next few steps will be.
2. Mock-up to Mugg
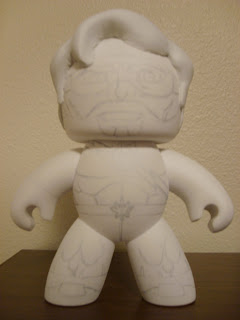
The next step I do is draw the character onto my black Mugg with my mock-up as reference. The 2D image will be skewed a bit when transferred to the solid Mugg.
After I'm satisfied with how the Mugg looks, I blow off any eraser bits and add a couple more coats of primer. This is so I can faintly see my lines and the graphite won't mix with my paints. Another round of sanding and I'm ready to start painting.
3. Painting
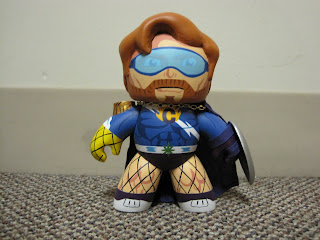
The painting step is much easier with lines to "color in". The lines are treated more as a guide instead of a rule set in stone. I like to paint from lightest color to darkest as a general rule. After getting large chunks of color in, I work on highlights and shadows to give a deeper feel. Here is the Mugg divided into different painting steps.
Start with some white....
The lighter skin-tone
Dark skin tone, skin highlight, and gold medallion
The blue color
The darker navy low lights (needs some lighter blue to make it pop)
Light gray to contrast white
A little darker gray for the accent
The black in the mask and medallion


